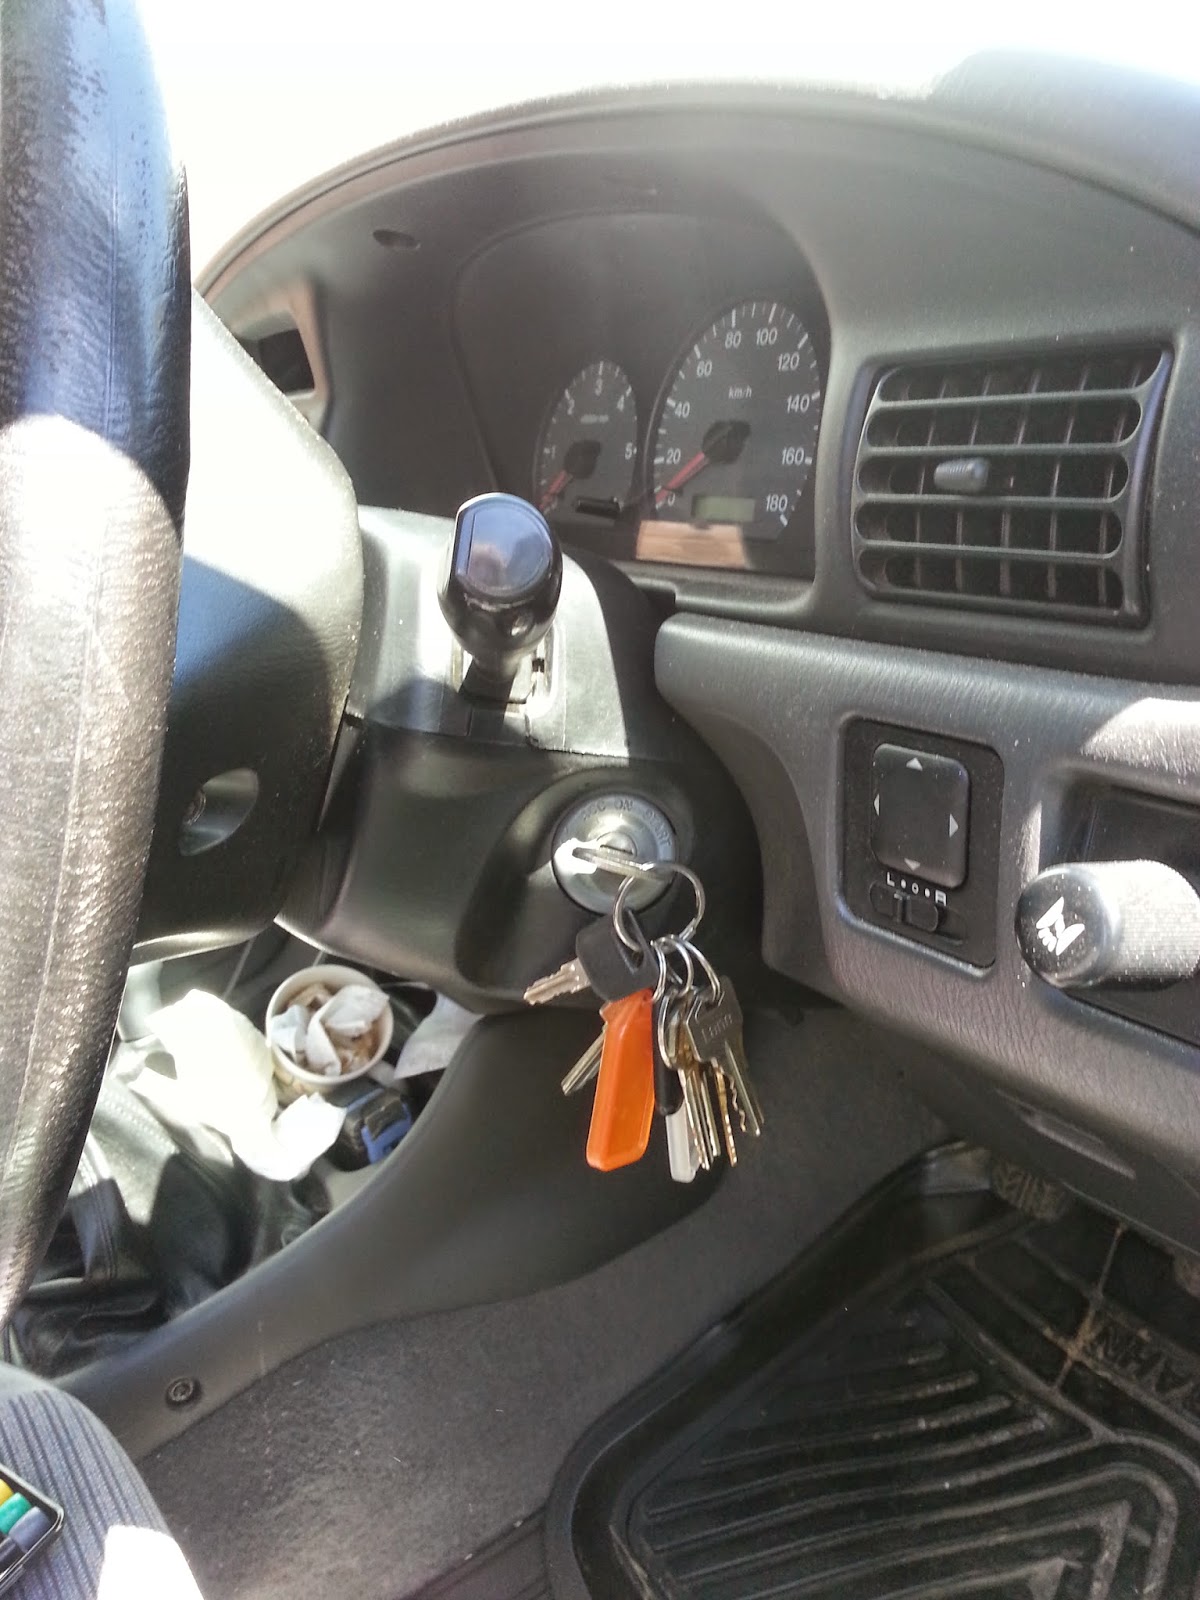
Today I repaired the ignition switch out of my Mazda Bravo B2500 / ford courier. When
I turned the key to engage the starting motor, nothing would happen
sometimes it would take ten to fifteen turns of the key to start the
car.
This job took me around three hours to complete, after I finished the starter motor never fails to energize.
The
first thing to do is to take the plastic cover off the control column.
you do this by taking the key out of the ignition switch and removing
three screws, they are clipped together so you will need to pry them
apart with a flat screwdriver
Pull the cables out by pressing the
clip and then wiggle it as you are pulling, these can be difficult
sometimes if you can not push the clip in all the way. After the cables
are out of the way then start undoing the screw with a small phillips
head screwdriver. The switch component should almost fall out.
Dismantle by
releasing one of the three clips on the black body out of the white cup,
there is two clips on one side and one on the other. Release the clip
on the side that only has one first with the flat screwdriver and the
switch should come apart easily.
Caution
there is two balls and seven springs in this switch, lose any one of them and your buggered
I cleaned the parts with dish
soap, a tooth brush and a green green scouring pad under running tap.
Use the green scouring pad to make the copper contacts shiny. Then pop
it all in a sunny spot to dry or cheat with an oven at around 50'C for
half an hour
Grab
a drill with a small drill bit and clean the spot where the switch has
been burning, be careful though, you don't want a big hole.
You
may notice the location tab on the large contact ring has solder on it,
this was a test run to see how well the solder would stick to the
copper.

Use
a gas torch to heat the contact rings just enough to melt the solder,
and touch them with the solder where the holes are, try not to use to
much solder as you will need to file the excess away later

Start to file away the excess solder, take your time with this step as you don't want to go to far and file the copper away
 LOOKING GOOD

Now the messy part GREASE...
lightly
coat all parts with grease and put some in the spring holes to hold the
springs in place while you are rebuilding the switch, also put a good
amount of grease in the holes that hold the balls to assist reassembly
(to hold your balls in place)
One of my balls stuck to the grease
coming together


Reassemble and fit back in the car

Done
THE TOOLS
Gas torch
Rag/Cloth
Battery drill
Round and flat file
Phillips screwdriver
Flat screwdriver
Soldering iron
Solder
Solder wick
Thumb driver
Cotton bud stick
Glasses
Bearing Grease

Thanks for reading my post.
Please let me know if this Worked for you
James